
Unity Gaming Services(UGS)
Unity는 예전부터 다양한 게임 개발 지원 서비스를 제공해왔습니다.
그러나 각 서비스가 제각각 분리되어 제공되면서, 개발자 입장에서는 일관된 사용 경험을 얻기 어려운 문제가 있었습니다.
이러한 문제를 해결하기 위해, Unity는 기존 서비스를 하나로 통합하고 기능을 대폭 강화한
Unity Gaming Services(UGS) 를 선보였습니다.
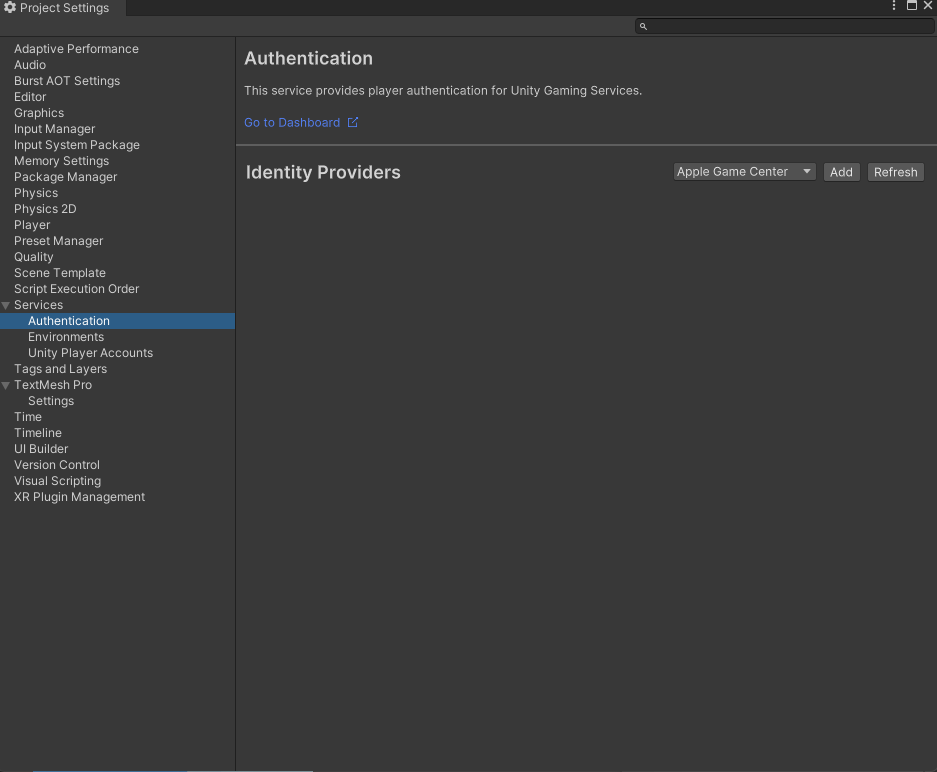
인증(Authentication)
Unity Gaming Services(UGS)는 다른 서비스를 활용하기 위한 기본 인증 시스템을 제공합니다.
비용 : 무제한 무료
제공 인증 종류
- 익명(Anonymous)
- 일반/소셜(구글플레이/애플게임센터/유니티 통합 등) 로그인
- 에디터 상에서는 소셜 로그인이 어려우므로 일반 로그인 구현 추천
[공통]
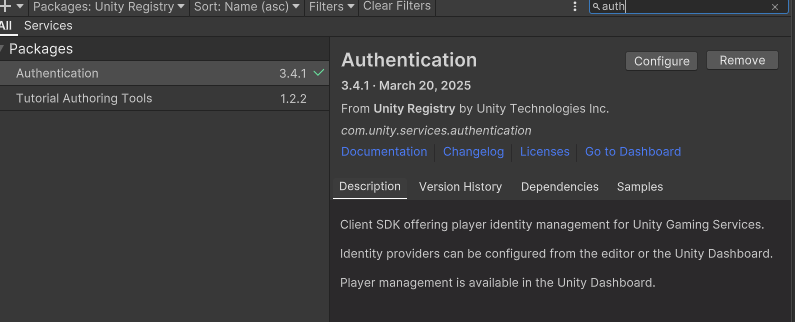
PackageManager에서 Authentication, Cloud Save 등 필요한 기능 설치해야 작동
인증 주요 메서드
InitializeUnityServices();
UnityServices.InitializeAsync();
// 유니티 게이밍 서비스 초기화

[계정]
AuthenticationService.Instance.SignInWithUsernamePasswordAsync(string username, string password);
비밀번호 규칙: 소문자, 대문자, 특수문자, 글자 길이 최소 8자 이상 최대 30자
[구글]
PlayGamesPlatform.Instance.GetServerAuthCode();
AuthenticationService.SignInWithGooglePlayGamesAsync(authCode)
https://docs.unity.com/ugs/manual/authentication/manual/platform-signin-username-password
Username & Password
Username & Password is an identity provider which is provided natively by the Unity Authentication service and the SDK. It provides support for the following scenarios: The username used by this provider is completely separate from the player name. Passwor
docs.unity.com
using System;
using System.Threading.Tasks; // Task 사용을 위한 네임스페이스
using TMPro;
using Unity.Services.Authentication; // 인증 관련 네임스페이스
using Unity.Services.Core; // 유니티 서비스 네임스페이스
using UnityEngine;
using UnityEngine.SceneManagement;
using UnityEngine.UI;

public class AuthenticationManager : MonoBehaviour
{
    private static AuthenticationManager _instance;
    [SerializeField] private TMP_InputField idField;
    [SerializeField] private TMP_InputField passwordField;

    public static AuthenticationManager Instance
    {
        ... 중략
    }
    private void Awake()
    {
        ... 중략

        Init();
    }

    private async void Init()
    {
        await InitializeUnityServices();
    }

    private async Task InitializeUnityServices()
    {
        try
        {
            await UnityServices.InitializeAsync();
            Debug.Log("Unity Services initialized");
        }
        catch(Exception e)
        {
            Debug.LogException(e);
        }
    }

    // 로그인 처리
    private async void Login()
    {
        string id = idField.text.Trim();
        string password = passwordField.text.Trim();

        if (string.IsNullOrEmpty(id) || string.IsNullOrEmpty(password))
        {
            Debug.Log("아이디와 비밀번호를 입력하세요");
            return;
        }

        try
        {
            await InitializeUnityServices();
            await AuthenticationService.Instance.SignInWithUsernamePasswordAsync(id, password);
            SceneManager.LoadScene("StartScene");
        }
        catch (AuthenticationException ex)
        {
            Debug.LogException(ex);
        }
        catch (RequestFailedException ex)
        {
            Debug.LogException(ex);
        }
    }

    // 회원가입 처리
    private async void SignUp()
    {
        string id = idField.text.Trim();
        string password = passwordField.text.Trim();

        if (string.IsNullOrEmpty(id) || string.IsNullOrEmpty(password))
        {
            Debug.Log("아이디와 비밀번호를 입력하세요");
            return;
        }
        try
        {
            await InitializeUnityServices();
            await AuthenticationService.Instance.SignInAnonymouslyAsync(); // 익명 로그인 먼저 수행
            await AuthenticationService.Instance.AddUsernamePasswordAsync(id, password);
        }
        catch (AuthenticationException ex) // 회원가입 관련
        {
            Debug.LogException(ex);
        }
        catch (RequestFailedException ex) // 서버 요청 관련
        {
            Debug.LogException(ex);
        }
    }
}
에디터 상에서 버튼 하나로 직접 SetID를 실행할 수 있게 ContextMenu를 활용
아이디를 만들기 전 기본적으로 로그인이 되어 있어야 하므로
익명 로그인 후 계정 등록 가능함
입력받은 id, password가 null 또는 비어있는지(empty)를 확인
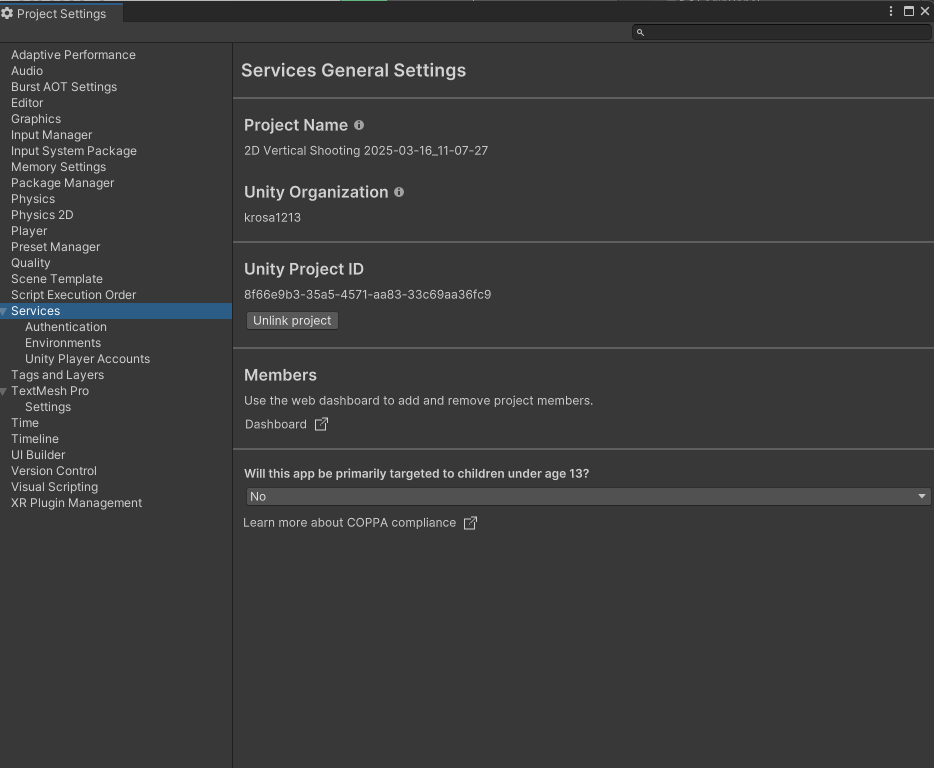
만약 Authentication에 정보가 등록되어 있다면
Services에서 Unity Project ID를 Unlink 후 프로젝트를 다시 생성해야한다.


정상 등록되었다면 이렇게 뜬다.

PlayerManagement에 정상적으로 아이디 생성이 완료되었다면 아이디가 뜬다.